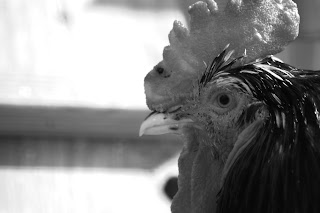
There are several ways to convert an image into black and white, depending on how much control of the finished image you want. Some methods work better for different photographs.
Method 1 - Grayscale Document

Open a new page on photoshop – file>new
Choose the Colour mode to be Grayscale.
Open the image you want to convert, and drag onto this blank document.

This is not a great method to use as you first have to figure out the size of your image. You also have no control over the depth of your image.
Method 2 - Grayscale
Method 2 - Grayscale
One of the easiest ways to convert your image to black & white is to use 'Grayscale'. To do this, go to image>mode>grayscale. This, however, does not give you any control over the final image.
Method 3 - Desaturation
Method 3 - Desaturation

The simplest way to convert your image to black and white is to desaturate. To do this, go to Image>adjustments> desaturate (or shortcut shift + ctrl + U). This method does not allow any control over the final outcome.
However, you can change the contrast of the image using the levels. Image>adjustments>levels
Method 4 - 'Black & White'

This method allows full control over the different tones within your image. Go to Image>adjustments>black and white


Method 5 - Photo Filter
By using a photo filter, you can convert your image to black and white. Go to image>adjustments>photo filter

Using black as the filter colour enables your image to become grey scale.

Method 6 - Gradient Map
A gradient map is a simple way of making your image black and white. Once again, you do not have much control over the tonal variations.
Go to image>adjustments>gradient map

Changing the gradient to black>white, gives a greyscale image.

Method 7 - Threshold
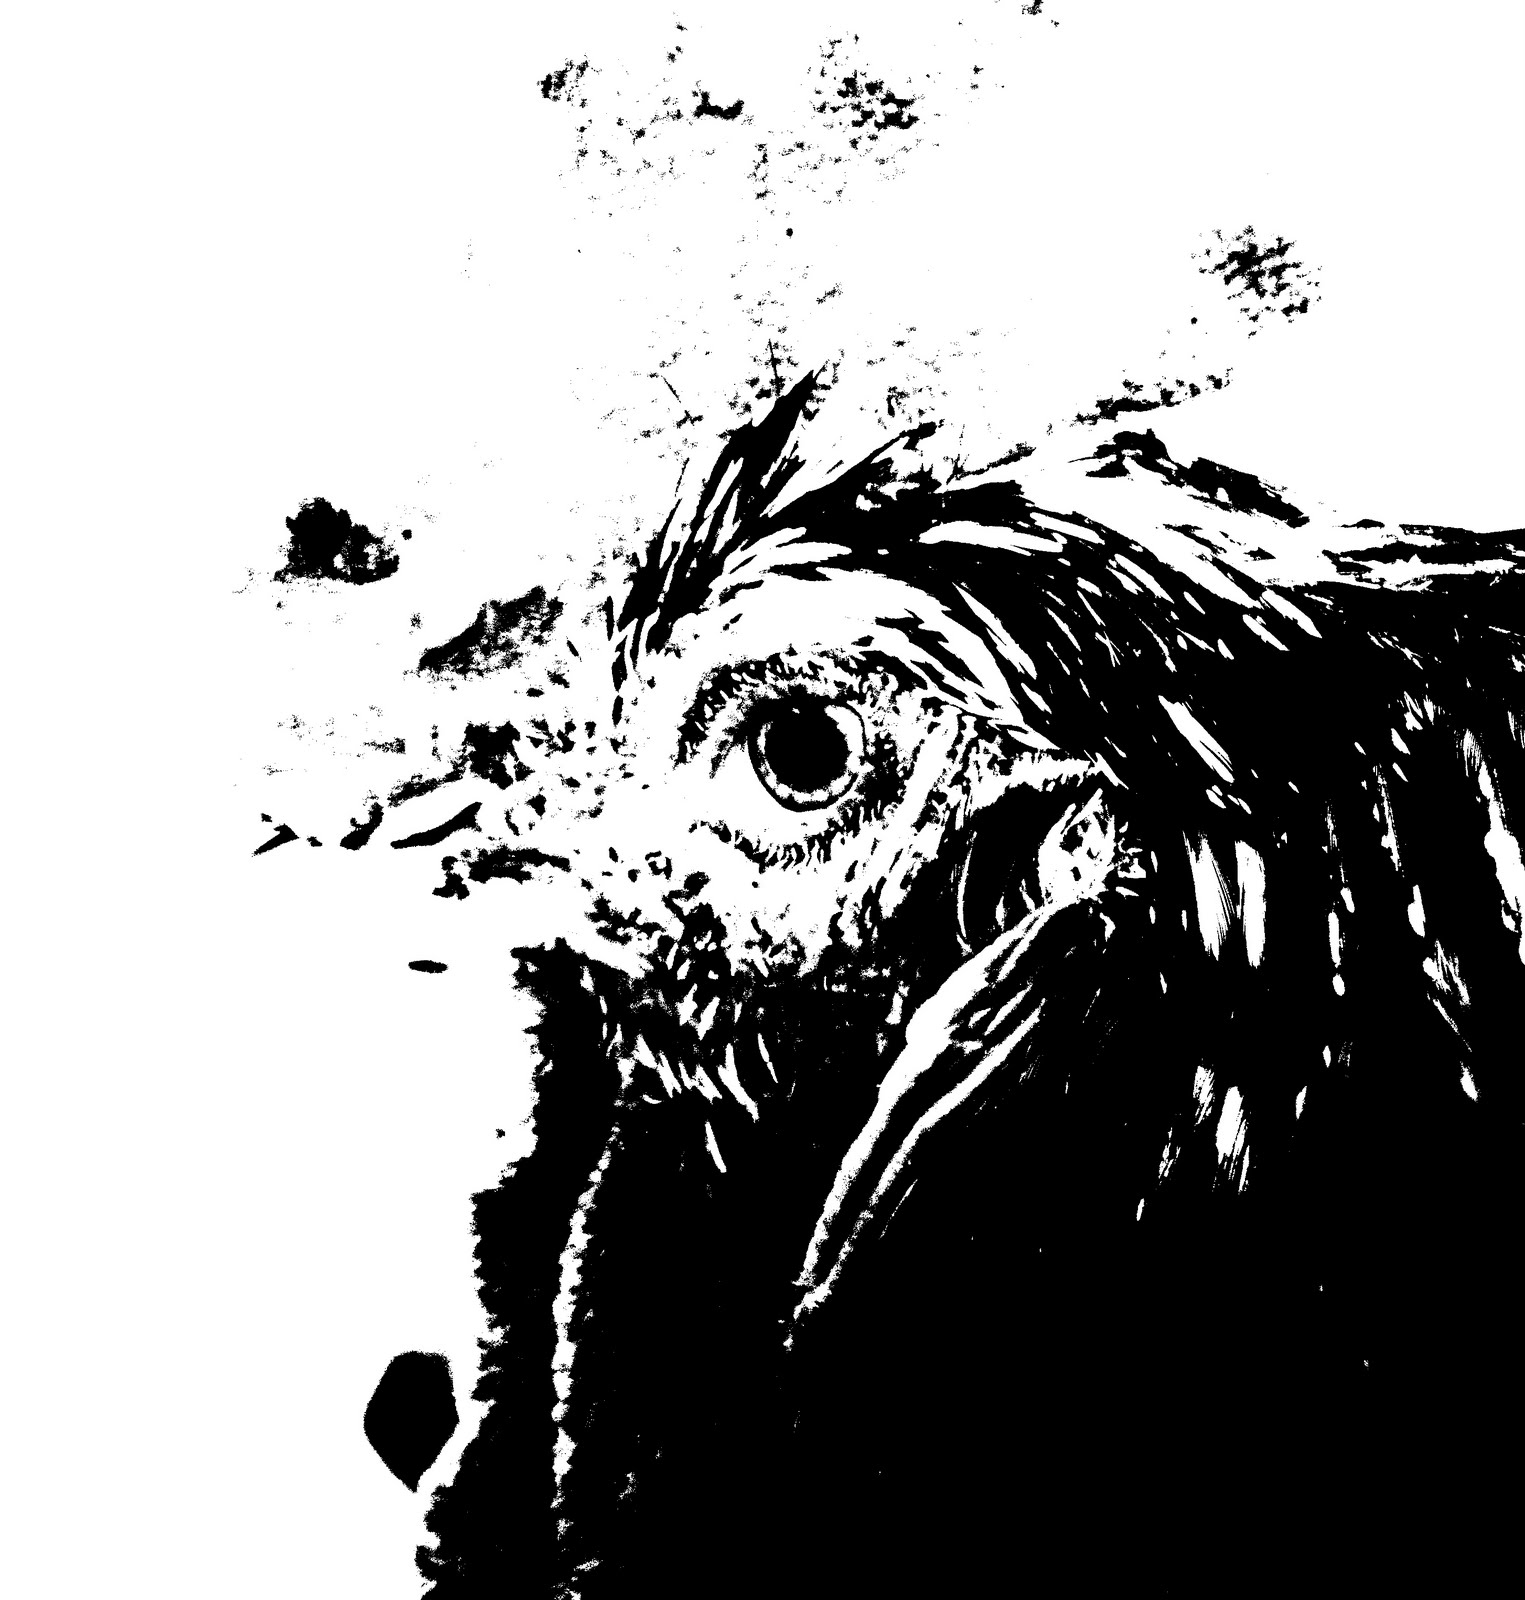
Image>adjustments>threshold
This method gives a cartoon feel image, with bold black lines against a white background. This does not work for all images.
No comments:
Post a Comment